ReadTheDocs
Sphinx
pip3 install sphinx
pip3 install sphinx sphinx-autobuild
pip3 install sphinxcontrib-nwdiag  { requires extra configs }
First create a new directory to start your project
mkdir -p newproject/docs
cd newproject/docs
sphinx-quickstart

Fig 1
You can also edit the conf.py file to use specific themes. Alabaster is the default but from the image below I changed mine to use sphinx_rtd_theme, to render this new themes
locally (sphinx-autobuild) you will need to install pip3 install sphinx-rtd-theme

Fig 2
Now build your html pages
sphinx-build -b html . _build/html
To run the files/builds locally and see how the web links and pages are run
sphinx-autobuild -b html . _build/html
Note
Watch for errors on the cli when autobuild runs
From here you can navigate to localhost:8000 from your browser
Table of Contents building, you must add :glob: if you plan to use a wildcard *. Below will search the directory structure for the module folders, followed by the moduleN.rst file to show the local table of contents
.. toctree::
:maxdepth: 1
:caption: Contents:
:glob:

module*/module*
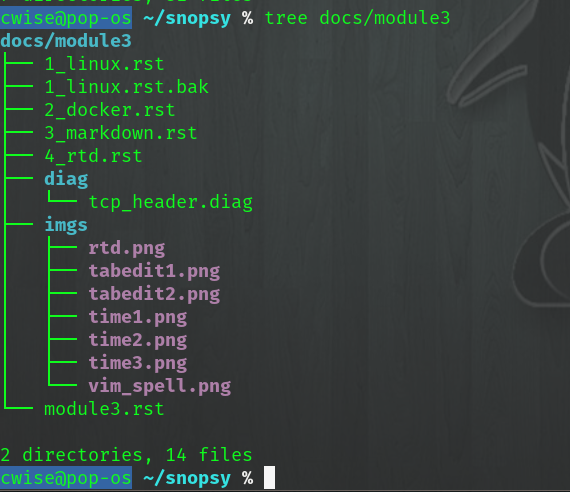
Fig 3
I used individual folders for each module and in this example I will cover module3. This breaks down the individual module Table of Contents (toc)
Roles
.green {
   color: green;
}
Add this function to your conf.py
def setup(app):
 app.add_css_file('css/static.css')
To create green font, you’ll need to add your custom css file to the _static folder and define you font colors. You can then define your role below:
.. role:: green
To create :green:`green font`, you'll need to add your custom css file to the ``_static`` folder
Bullets
Bullets
item
item
Bullets

* item
- item
Tables
Column 1 header |
Column 2 header |
Column 3 header |
|---|---|---|
Column 1 row 1 |
Column 2 row 1 |
Column 3 row 1 |
Column 1 row 2 |
Column 2 row 2 |
Column 3 row 2 |
 1.. list-table:: Table Title
 2:align: center
 3:header-rows: 1
 4
 5* - Column 1 header
 6  - Column 2 header
 7  - Column 3 header
 8* - Column 1 row 1
 9  - Column 2 row 1
10  - Columna 3 row 1
11* - Column 1 row 2
12  - Column 2 row 2
13  - Column 3 row 2
Images/Figures
To place images or figures on pages. I can use .. figure:: or .. image:: and set a :scale: or :width:, this way the image can be opened

Fig 4
Image 1
.. figure:: imgs/rtd.png
   :scale: 50%
   :align: center
   :alt: rtd image
.. centered:: Fig 4

.. image:: imgs/rtd.png
   :align: center
   :scale: 50%
   :alt: rtd image
.. centered:: Image 1
Code Blocks
Example below, reference
1<html>
2<head>
3<link rel="stylesheet" type="text/css" href="mystyle.css">
4<title> Title</title>
5</head>
6<body>
7Text
8</body>
9</html>
You use the :emphasize-lines: directive to highlight a line or lines of code, and the :linenos: to add line numbers
.. code-block:: html
   :linenos:
   :emphasize-lines: 2-4,6

   <html>
   <title> Title</title>
   <body>
   Text
   </body>
   </html>
After the .. code-block:: directive you can add the language or use text as below
1 mkdir X
2 rm -rf X
.. code-block:: text
   :linenos:

   mkdir X
   rm -rf X
One other good ability to to present code/files that already exist within your repository. The .. literalinclude:: directive does this for us
.. literalinclude:: path/to/file
   :linenos:
Notes_Warnings
Note
This is a note
See also
See also
Warning
Warning here
Todo
Todo see the next section for extensions and todo_include_todos
Important
Important
New in version 1.2.
Changed in version 2.1.
Deprecated since version 1.1.
.. note:: This is a note
.. seealso:: See also
.. warning:: Warning ``here``
.. todo:: Todo see the next section for extensions and todo_include_todos
.. important:: Important
.. versionadded:: 1.2
.. versionchanged:: 2.1
.. deprecated:: 1.1
Network Diagrams
Edit the conf.py file to include new extensions:
extensions = [
'sphinx.ext.autodoc',
'sphinx.ext.doctest',
'sphinx.ext.todo',
'sphinx.ext.coverage',
'sphinx.ext.mathjax',
'sphinx.ext.ifconfig',
'sphinx.ext.viewcode',
'sphinx.ext.graphviz',
'sphinxcontrib.nwdiag',
'sphinxcontrib.rackdiag',
'sphinxcontrib.packetdiag',
'sphinxcontrib.blockdiag',
 'sphinx.ext.todo'
 ]

 todo_include_todos=True
You must also create a requirements.txt file and add:
sphinxcontrib-nwdiag
This now enables
.. nwdiag::

    nwdiag {
      network dmz {
          web01;
          web02;
        }
    }
Example Diagrams
Or highlight groups
.. nwdiag::

   nwdiag{
      network web_tier {
        address = "172.10.1.0/24";
          //define group
            group web {
              web01 [ address = ".1 "];
              web02 [address  = ".2"];
           }
        }
    network db {
       address = "172.20.1.0/24";
          web01 [ address = ".1"];
          web02 [ address = ".1"];
          db01 [ address = ".101"];
          db02 [ address = ".102"];
          group db {
             db01;
             db02;
             }
        }
    }
Or a Block Diagram
.. blockdiag::

   blockdiag {

    default_node_color = lightyellow;
    #default_linecolor = magenta;
    default_textcolor = black;
    default_shape = roundedbox;

    Inventory -> Play;
    Pass.yml -> ansible.cfg  [label = "Encrypt", color = "green" ];
    ansible.cfg -> Play  [label = "Decrypt", color = "red" ];
    Play -> Target [label = "SSH" ];
    }
Rack El
.. rackdiag::

   rackdiag {
   rack {
   //define height of rack
   8U;
    //define description
    description = "Rack A1";
   //define position of items
   1: UPS
   2: UPS
   7: TOR Switch [10A]  //define Amps
   8: Fuse Panel
   }

   rack {
   8U;
   description = "Rack A2";
   1: UPS
   2: UCS
   2: UCS
   3: N/A [4U];
   7: TOR Switch
   8: Fuse Panel
   }
   }
Packet Diagrams
packetdiag {
    colwidth = 32
    node_height = 72

    0-15: Source Port
    16-31: Destination Port
    32-63: Sequence Number
    64-95: Acknowledgment Number
    96-99: Data Offset
    100-105: Reserved
    106: URG
    107: ACK
    108: PSH
    109: RST
    110: SYN
    111: FIN
    112-127: Window
    128-143: Checksum
    144-159: Urgent Pointer
    160-191: (Options and Padding)
    192-223: data [colheight = 3]
    }
Links and References
`Link <www.google.com>`_
Link multiple words (can also use for single word)
`This site`_

.. _This site: https://www.crashed.dev
Embed video
.. raw:: html
   <iframe width="560" height="315" src="https://www.youtube.com/embed/2sjqTHE0zok" frameborder="0" allow="accelerometer; autoplay; encrypted-media; gyroscope; picture-in-picture" allowfullscreen></iframe>
Using the .. raw you can click the share from your YouTube video then select embed and copy the iframe code over
Something quoted [1]
Footnote
Using the [#] will auto number the footnotes
Something quoted [#]_

.. rubric:: Footnote

.. [#] https://www.google.com